
EA113 engine in a MKV Golf GTI Pirelli. The air intake and the engine cover are all integrated.
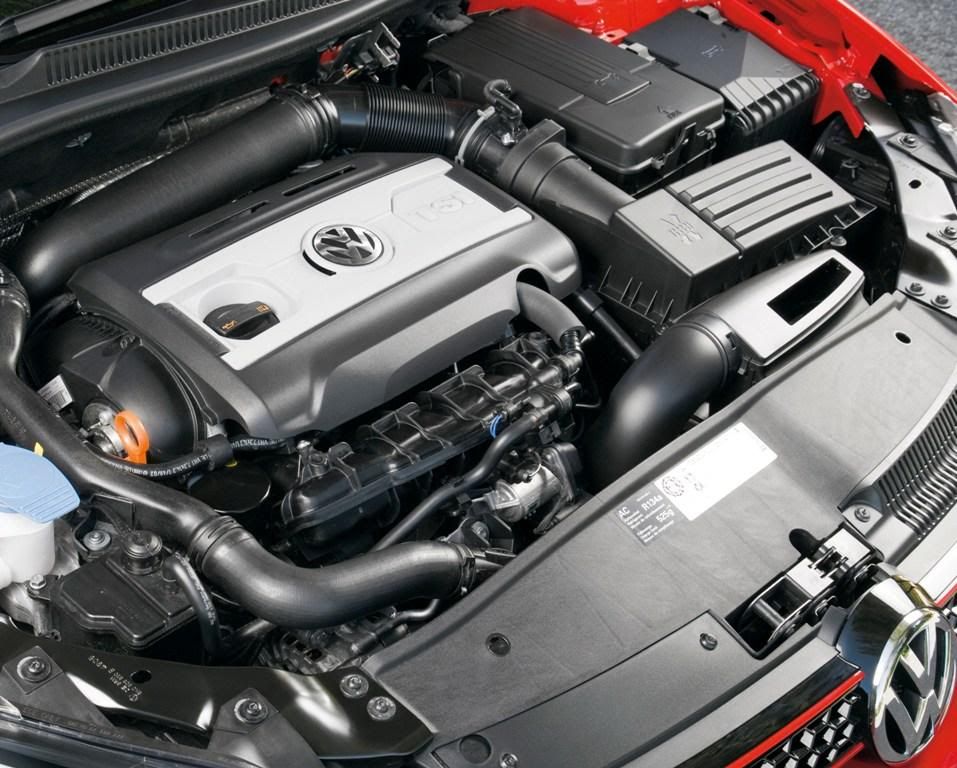
EA888 engine bay in the MKVI Golf GTI. Notice how the actual engine cover and the OEM air intake are separate.
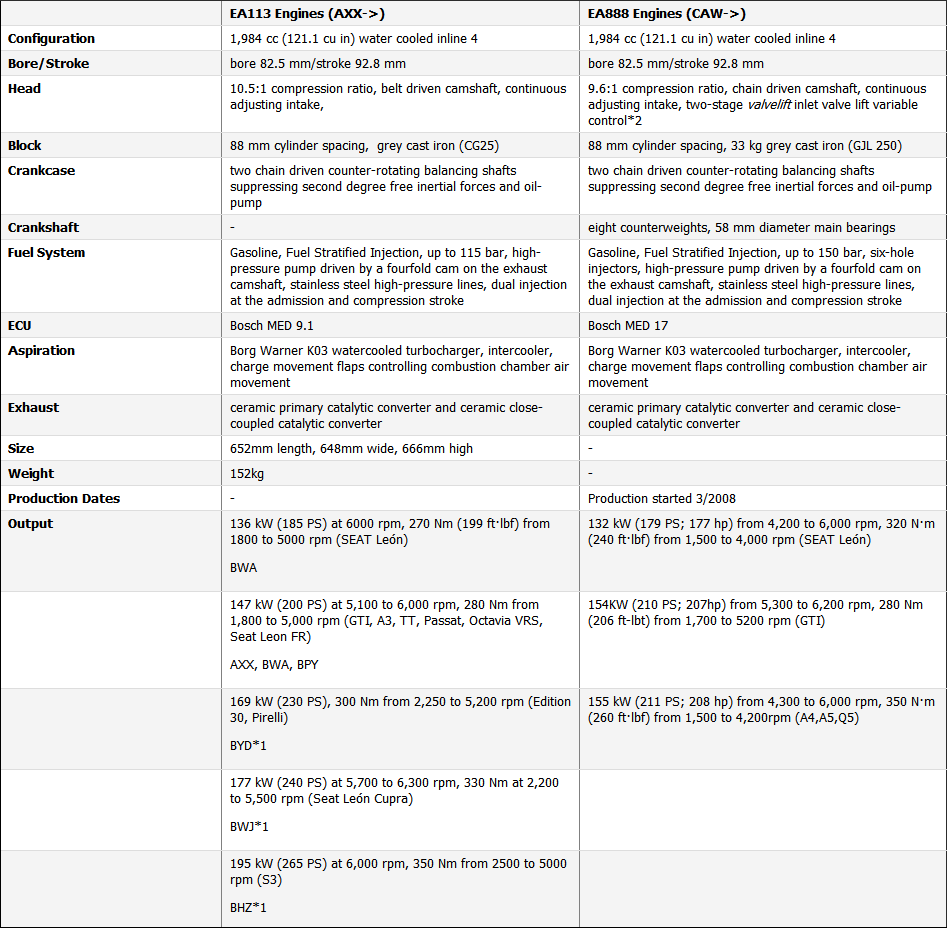
A MKV GTI to MKVI GTI comparison of the EA113 and the EA888 engine.
When I replaced the OEM air filter with the VW Racing cold air intake, it also removed the OEM engine cover. That's all well and good because some people like having the engine block exposed and it does away with unnecessary plastic that may be cluttering up the engine bay. However, I wanted to keep the engine bay looking as OEM as possible even though I had installed a cold air intake. So I started to look at what was available for the Golf R. Since the engine block was pretty much the same as the MKV Golf GTI's, whatever options there were for an engine cover for a MK5 GTI would also fit my Golf R as well as the option of cutting the original engine cover down to fit. I came across a few options...

Evolution Motorsports (EVOMS) engine cover. Not a fan of this to be honest.

Neuspeed carbon fibre engine cover. Not bad, but it doesn't cover the whole engine block.

This engine bay belongs to John who owns a beautifully modded MKV Golf GTI in black.
He is a perfectionist and this is his original engine cover which he modded and cut to fit.
The OSIR carbon fibre engine bay trim (now discontinued) goes very nicely with his Forge TWINtake.
Looks very nice and very original too but I didn't like the fact I had to hack my original engine cover.
He is a perfectionist and this is his original engine cover which he modded and cut to fit.
The OSIR carbon fibre engine bay trim (now discontinued) goes very nicely with his Forge TWINtake.
Looks very nice and very original too but I didn't like the fact I had to hack my original engine cover.
I then came across a MKVI Golf GTI engine bay which had an Audi engine cover. Instantly I liked it and I found out later on that it came from the MKII Audi 8J TT-S and found out further that the TT-S used the same engine as the Golf R/S3 but it had a slightly different engine bay setup. The battery for the TT-S was in the boot like the MKV R32's and where the battery would normally be in the engine bay, it has an OEM intake and air filter setup.

Audi TT-S engine cover in the engine bay of a MKVI Golf GTI.

Audi TT-S engine bay. Notice the air intake location is where the battery would normally be in the Golf R.
After doing a bit more research, I realised that you need four parts in total to get the cover to work in the Golf R engine bay. They are:
- 1x Audi TT-S engine cover : Part# 06F 103 925 J
- 2x ball screws : Part# WHT 000 731 A
- 1x ball joint : Part# 06E 103 164 E
Armed with this knowledge, I went to the service and spare parts centre at Audi Five Dock to order these in. I decided I should give them the part number because they may get it wrong and may not know the exact part I am after. Plus, it will save them the trouble and will get it right the first time around. Or so I thought. Seriously, I don't think I'll be going back to them ever again, nor would I recommend them to anyone because to cut a long story short, I waited about six weeks after I ordered as it was being shipped from Germany and I initially ended up with the wrong engine cover which was designed for a MKI Audi TT, not the MKII 8J Audi TT-S I requested. Another three week wait and I finally have the correct part. How they got that wrong even when I gave them the damn part numbers I have no idea. Eventually, after going back and forth, I got the engine cover in the end and for my troubles, they gave me the ball joint screws for free. Nice, but still wouldn't go back there for any parts.

After more than one month, I finally had this in my possession.
I did a quick trial by placing the engine cover over the block to see what it would look like. I was very happy at this point and had completely forgot that I waited over two months to have this.

The finishing touch.
As you can see, the engine cover comes in standard silver and are accented by matte black pieces. I promptly headed over to see Frank at Dural Prestige Smash Repair to get these painted in candy white with gloss black inserts so that it will match the fuse box and battery cover he did for me. He was quite busy with customers and there was a backlog of cars that he needed to tend to first before he could do my little trivial paint work on my engine cover. I dropped it off last week, received it today. The outcome :

Engine cover in gloss candy white, accent pieces in gloss piano black.

Close up of the engine cover.


Close up of the two accents.
I placed it over the engine block again to see what it would look like now and I must say, it does complete the look.

Result!
The engine cover is not yet mounted due to two things that I need to address first :
- Now that I am running the two hydraulic hoses from the PCV plate to the oil catch can, this may become a hindrance when trying to bolt down the engine cover. I may need to use a hacksaw or something to cut a little off the front the engine cover so that it acts as an opening for the catch can hoses to route to.
- Since Frank and his boys were so busy doing repairs etc, I told them they could just spray the top part which had the Audi rings and the "TFSI" letters all in gloss black. But I actually want them done in white to match the engine cover. It will be a DIY rattlecan job and though it may sound dodgy, I'll be doing everything I can to make sure it's prepped and painted properly. I will need to do all the masking to make sure no residue white paint goes anywhere on the black except for the Audi rings and the letters. I'm going to be taking my time with this and will most likely sanding the black back and then applying a layer of primer, then a few coats of VHT gloss white engine bay enamel finishing off with a layer or two of clear. Not sure how well it will stick but I'm going to try and make it work. Will write a post on here when I do it and when it is properly mounted in the engine bay. Very excited and can't wait to start!
If you are involved in an accident or are looking for a quality smash repairer (NRMA approved), please contact :
Dural Prestige Smash Repair
(02) 9651 6100
(02) 9651 6100

No comments:
Post a Comment